
Header
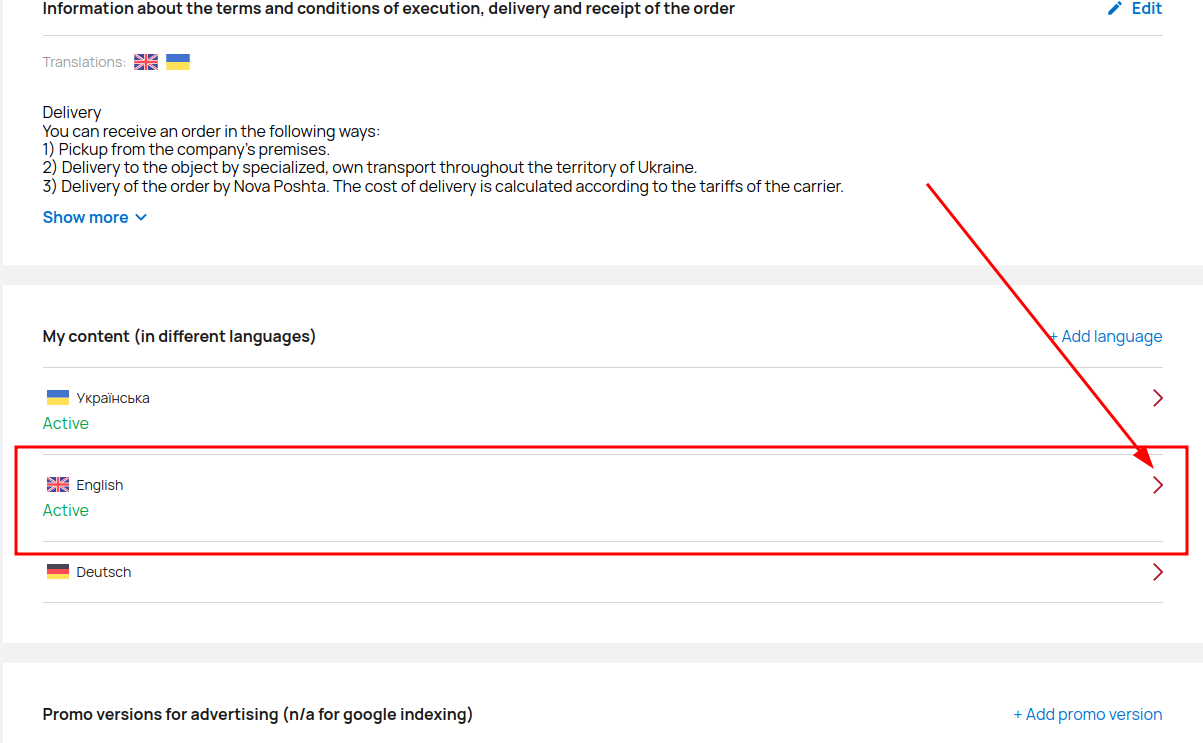
First, set up your site's Header. To go to the header settings, select a specific language version of your site.
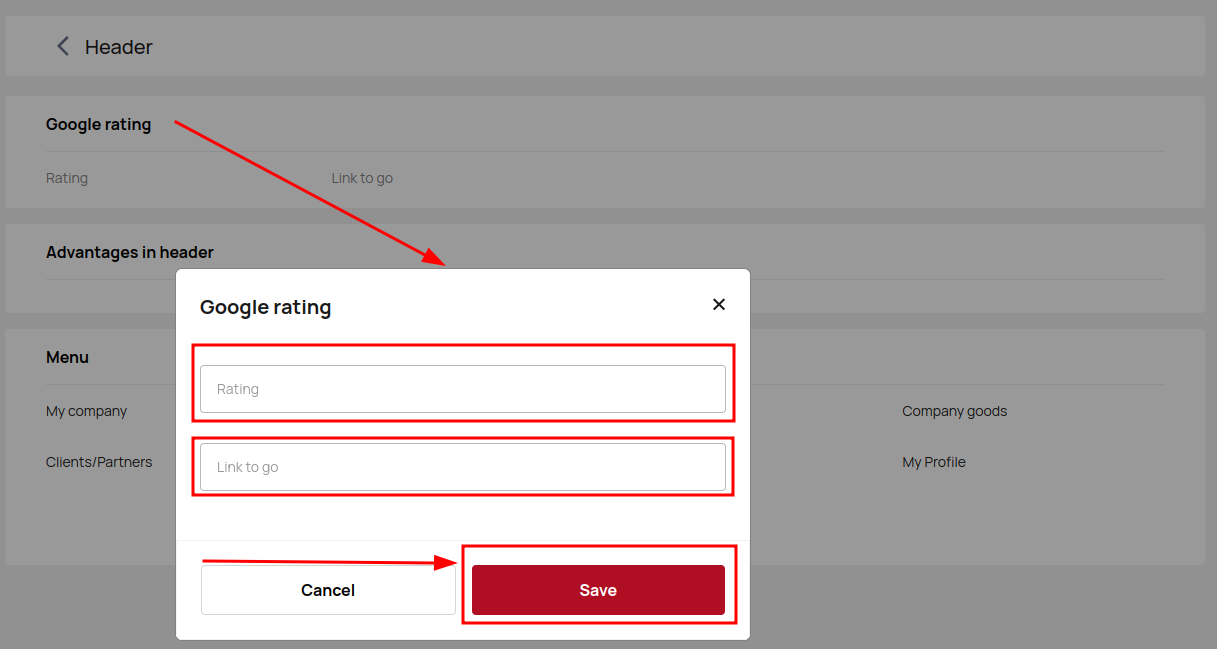
Add your Google rating above and link to go.
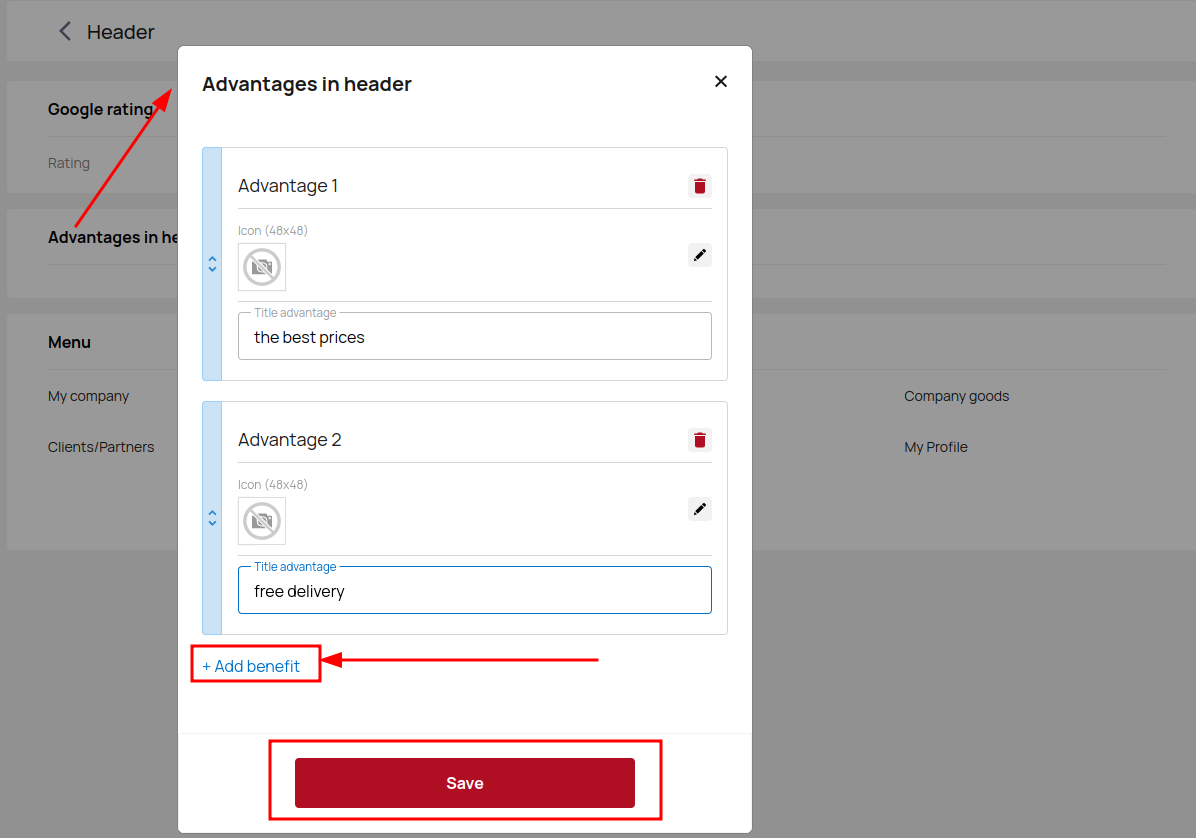
Add your key advantages to attract customers.
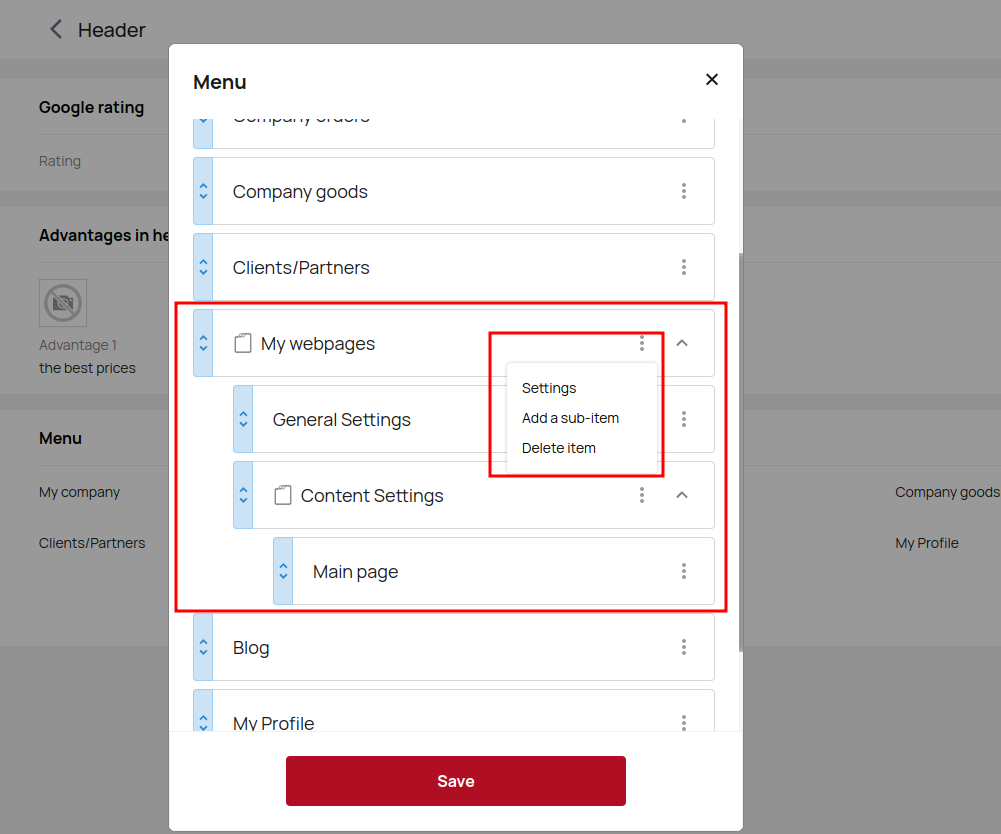
Customize the look of your Menu. You can manage existing elements or add new ones.
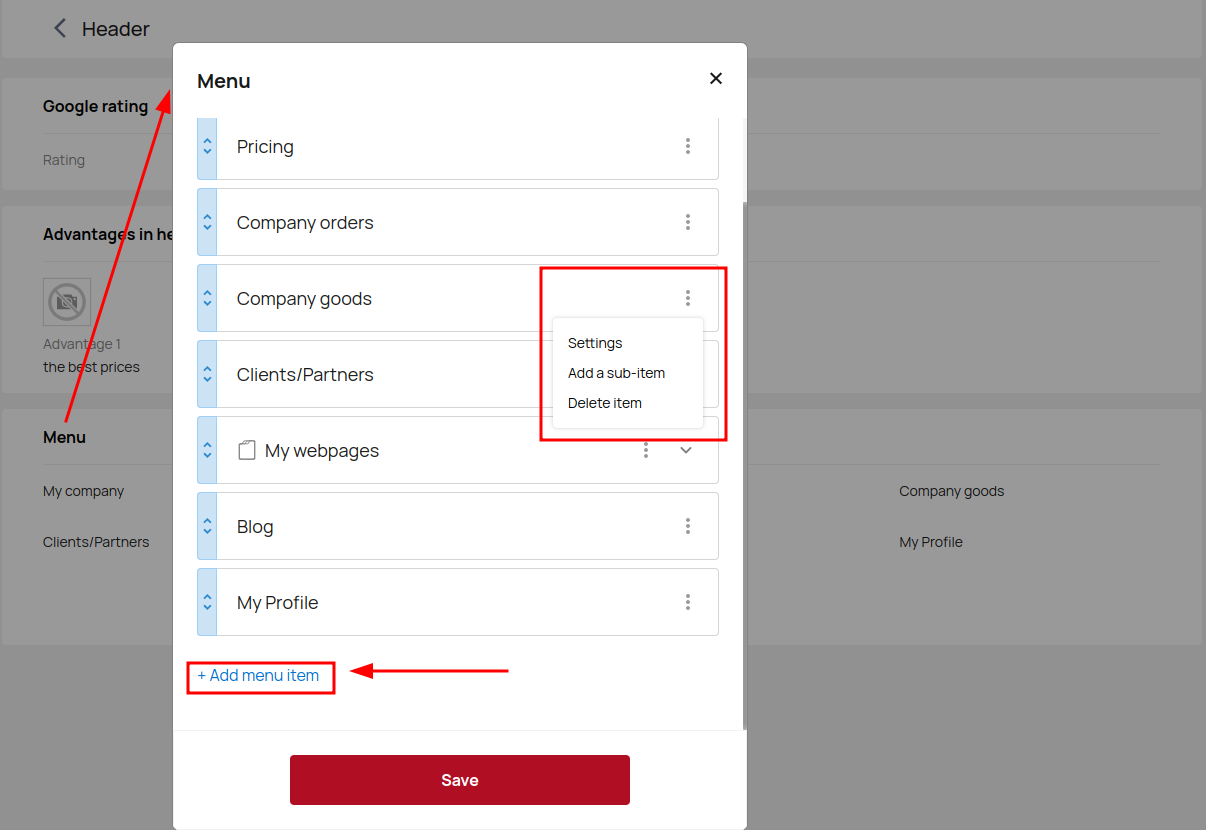
When you create a new header item, you should choose its location in relation to other elements, enter its title, select block in home page, or insert a link to another page.
You can add sub-items and make your menu multi-layered.
This is what the menu of your site looks like after the settings.

Footer
Customize your Footer pages for a better user experience.
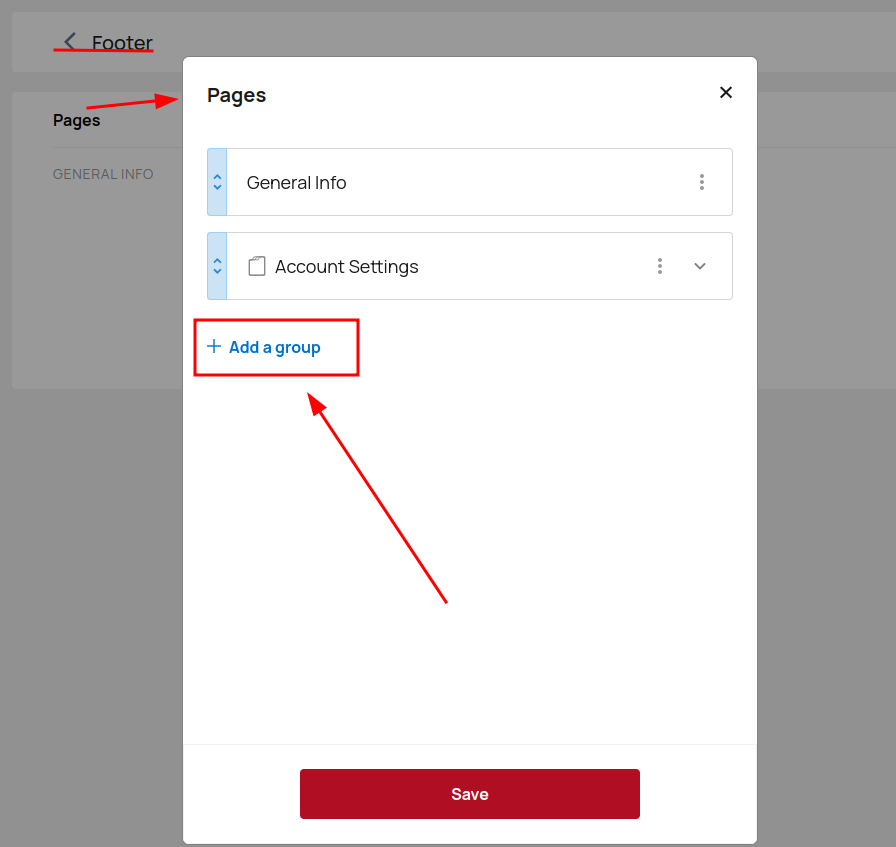
Select Footer, click pages and click Add group. You can rank your pages by purport or any other convenient way.
Enter the block name, add the block page and don't forget to link to this page on your site.
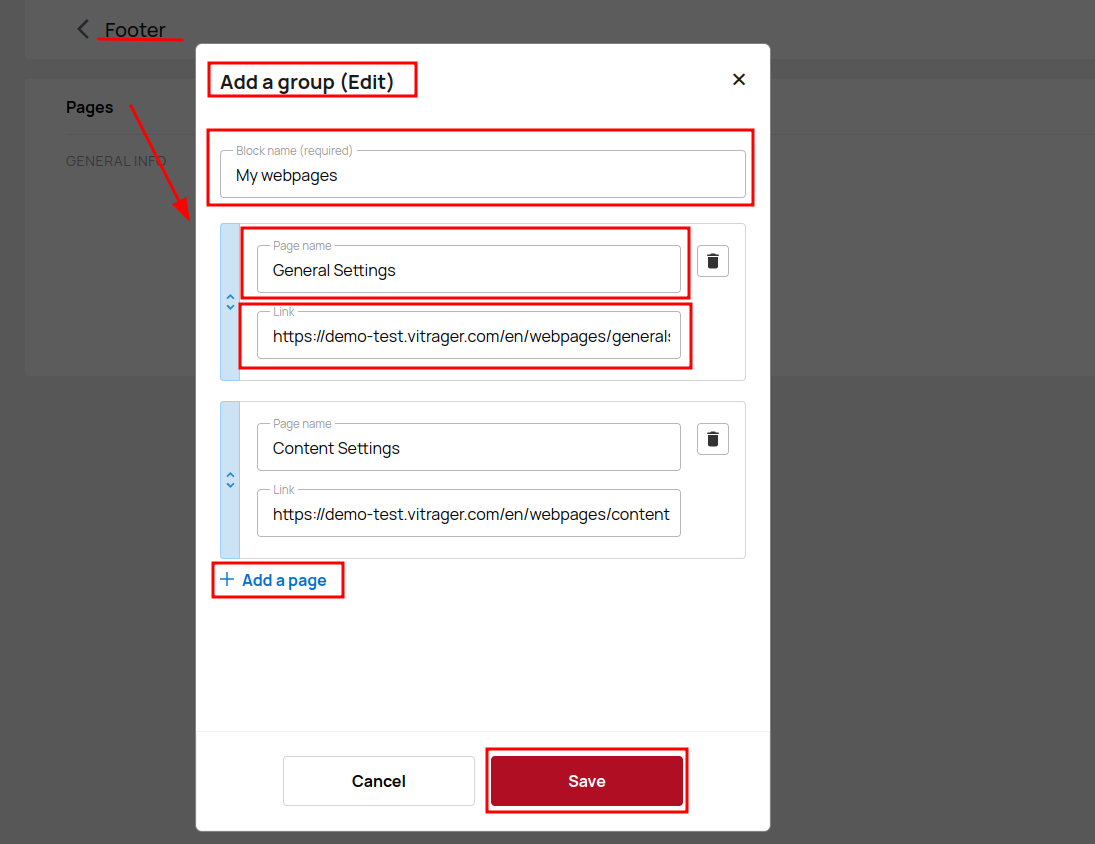
Don't forget to save all changes.
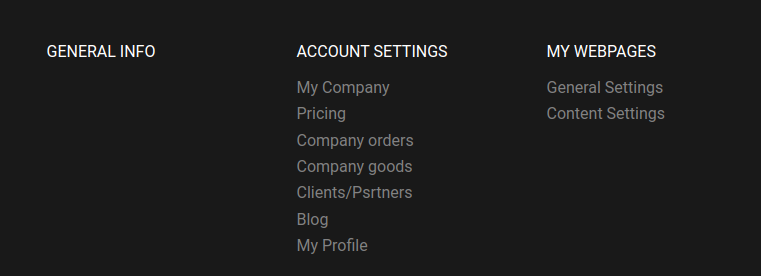
Now your Footer looks like this.
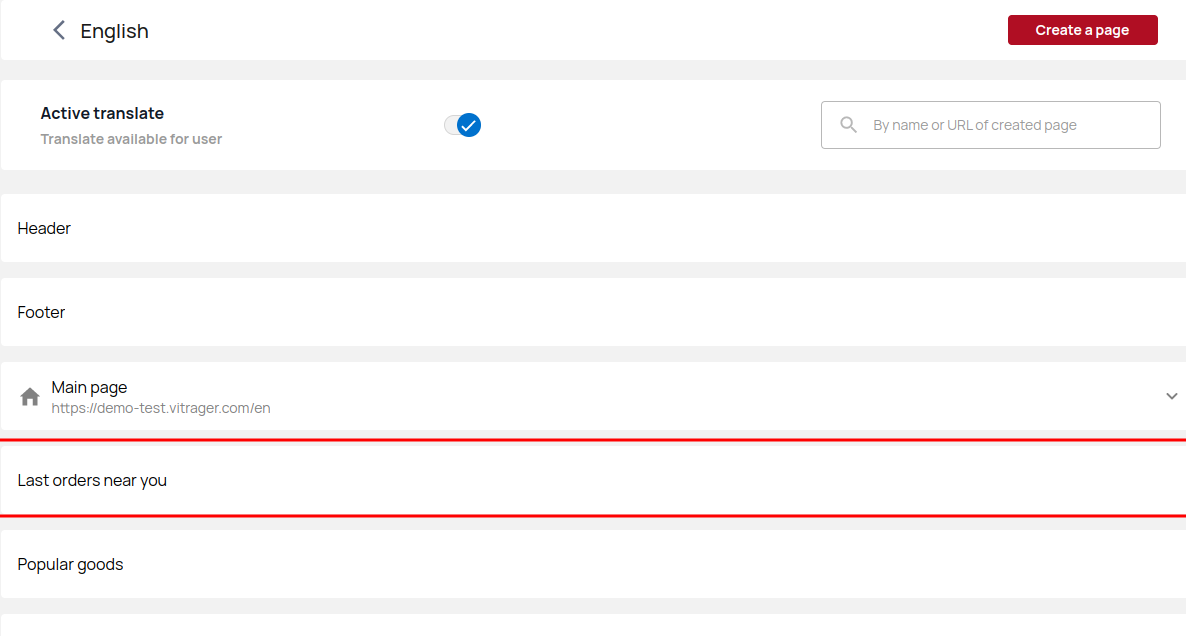
Last orders near you
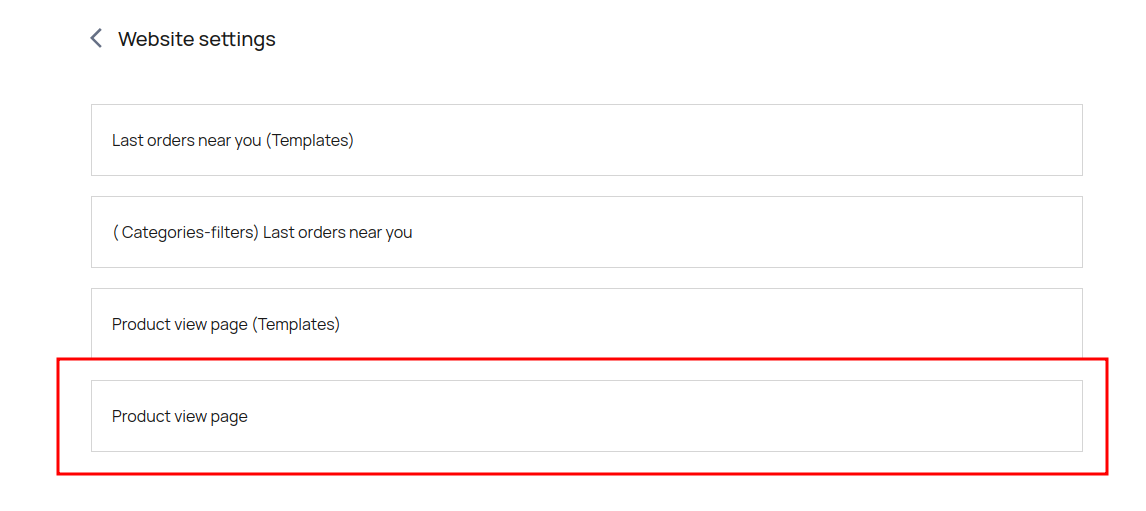
In this point, the last orders configured by users on the site will be stored, displayed and administered. By clicking on it, you will go to the site settings. Click Last orders near you to go to website settings.
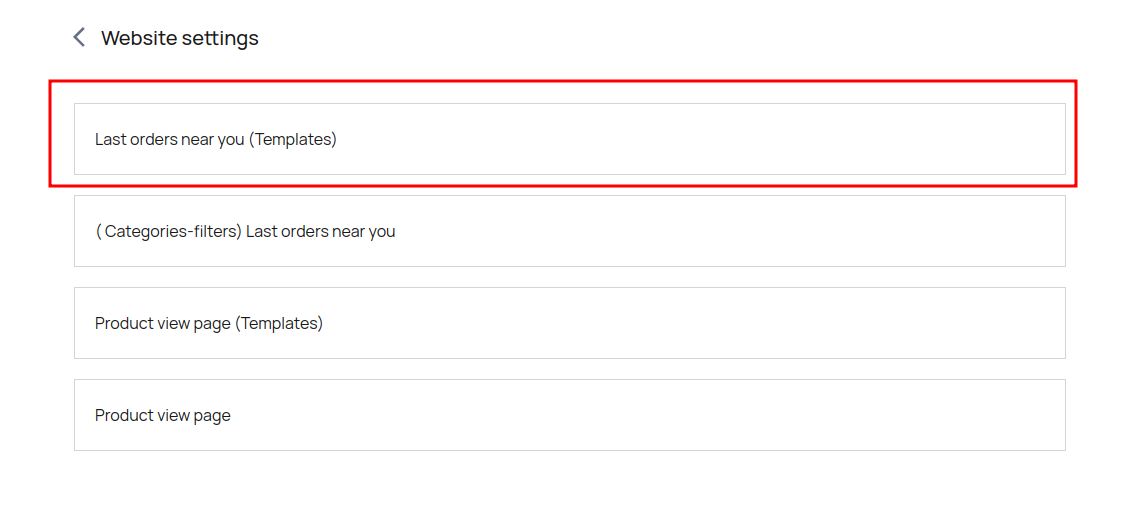
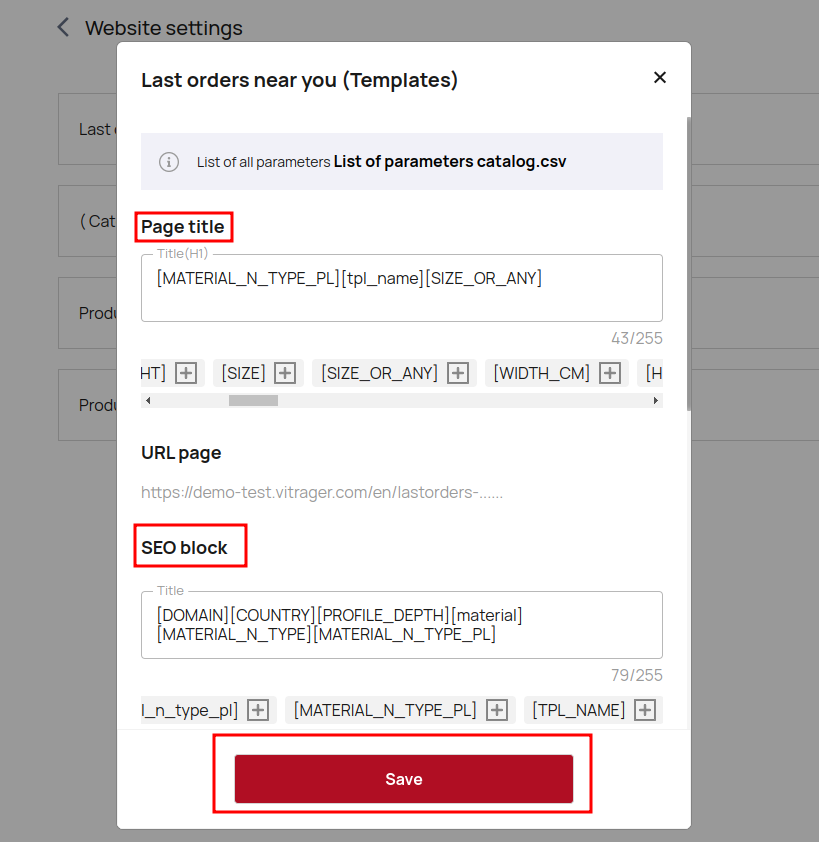
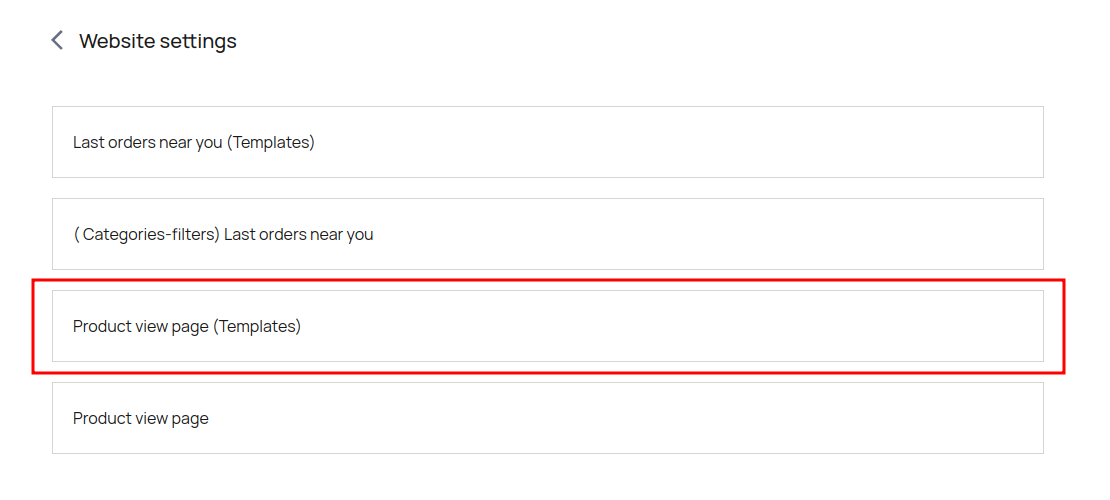
Last orders near you (Templates) save store catalog settings. It is possible to set up a complete list of such parameters.
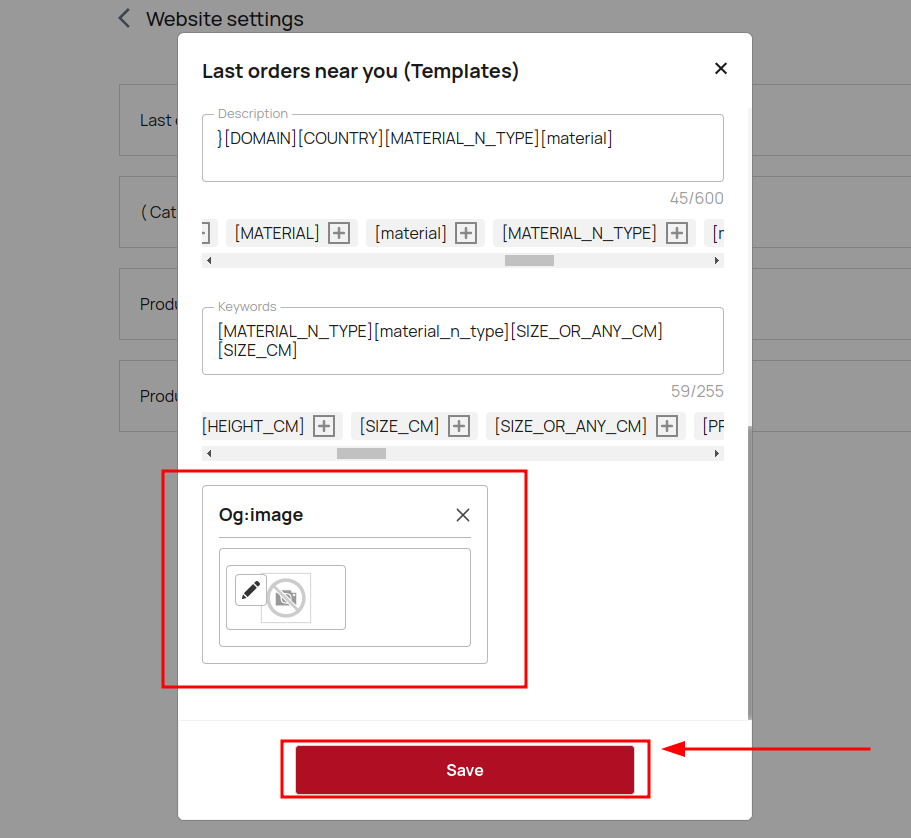
Enter the page title and SEO block for better product promotion in search engines. Add keywords and images.
og:image – here we indicate which picture should be pulled up during the repost.
Make the same settings for the Product view page (Templates).
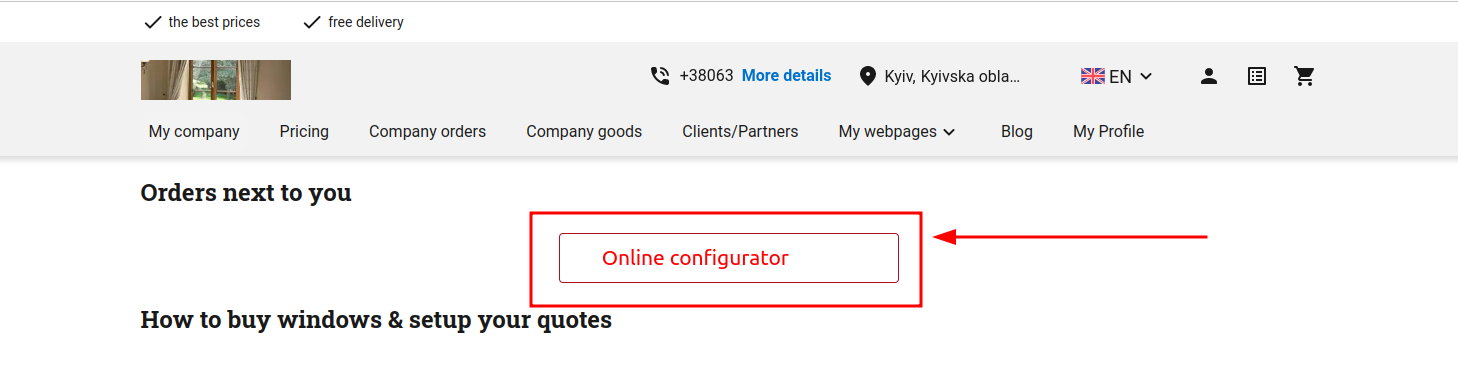
Now activate the Order next to you (LINK) block on the Main page, go to your website, select the correct region and click Online Configurator.
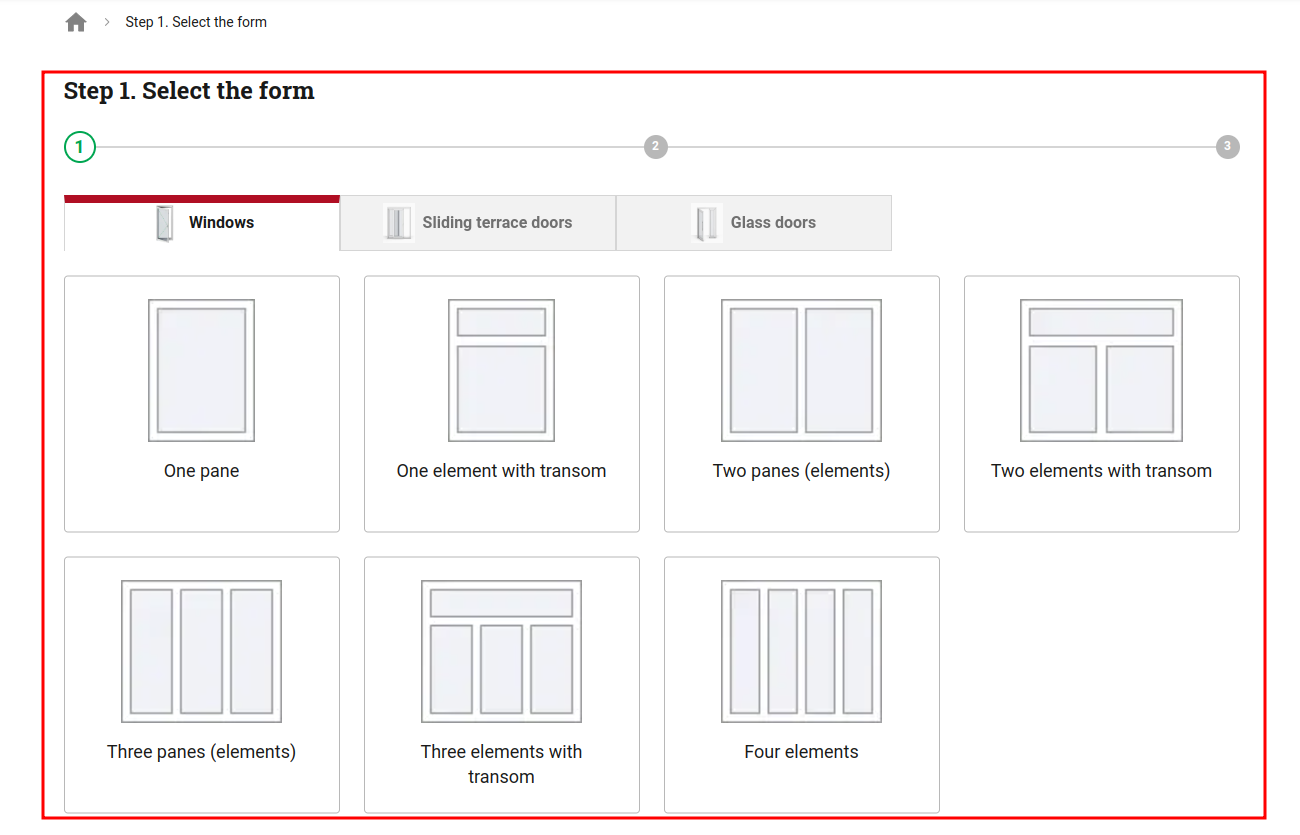
Select the Form.
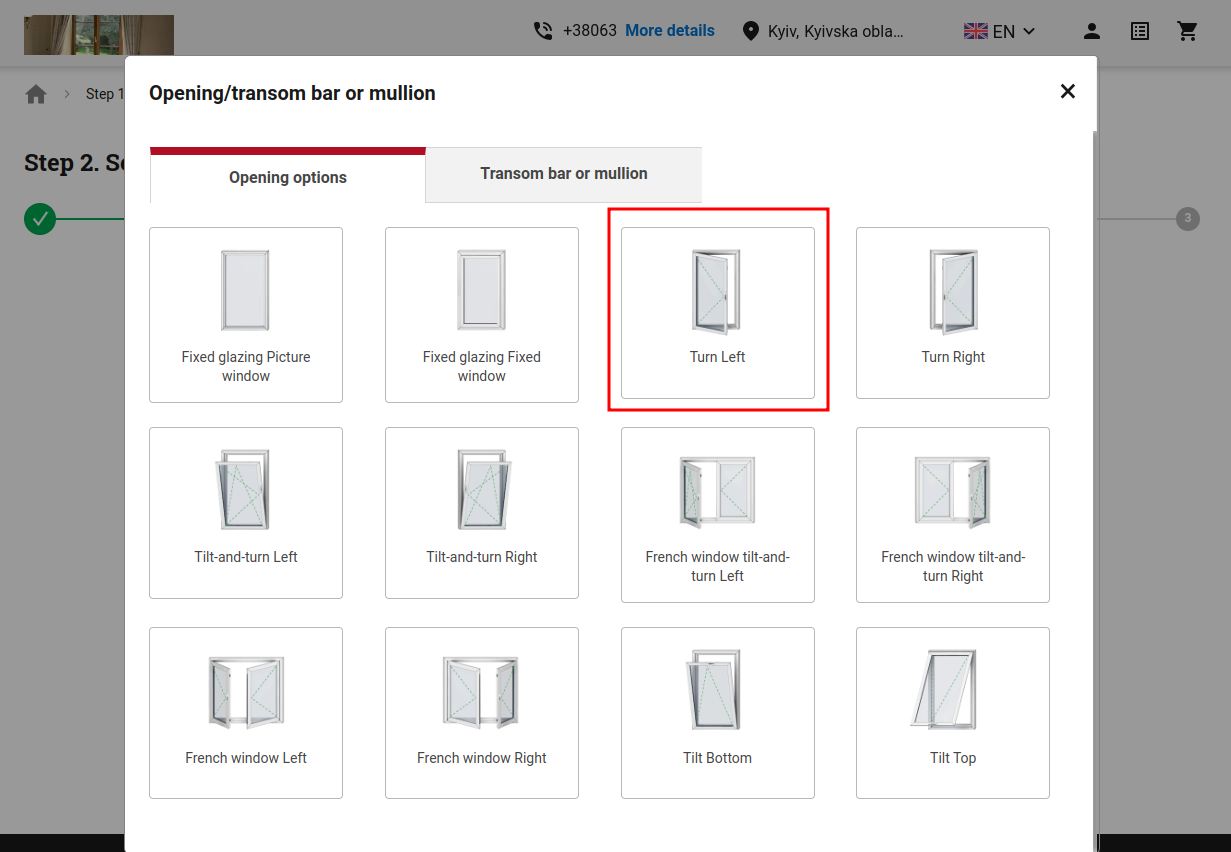
Choose the opening of the selected form.
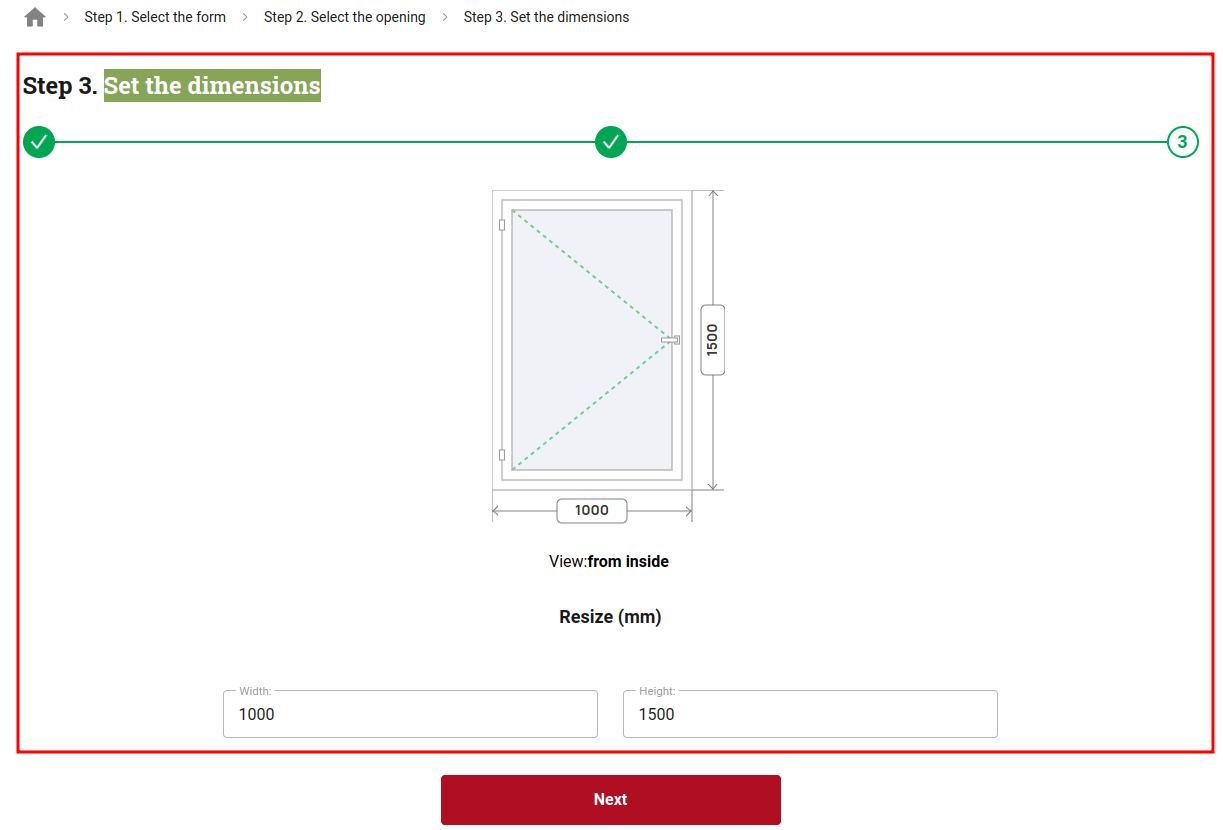
Set the dimentions.
Select available profile system according to your construction. 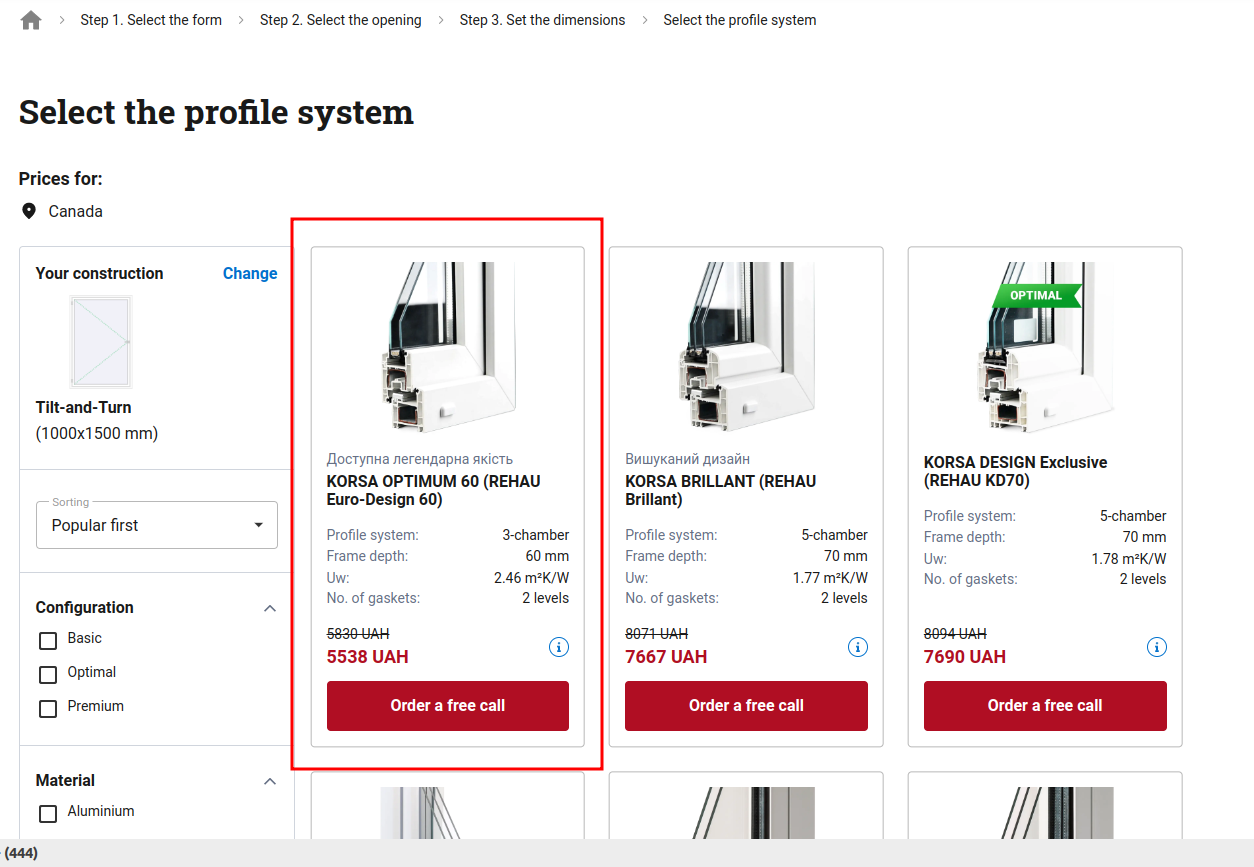
You have now opened an item. You can see its title, generated according to your preferences in Last orders near you (Templates) and Product view page (Templates) settings.
You can view and edit the required data.
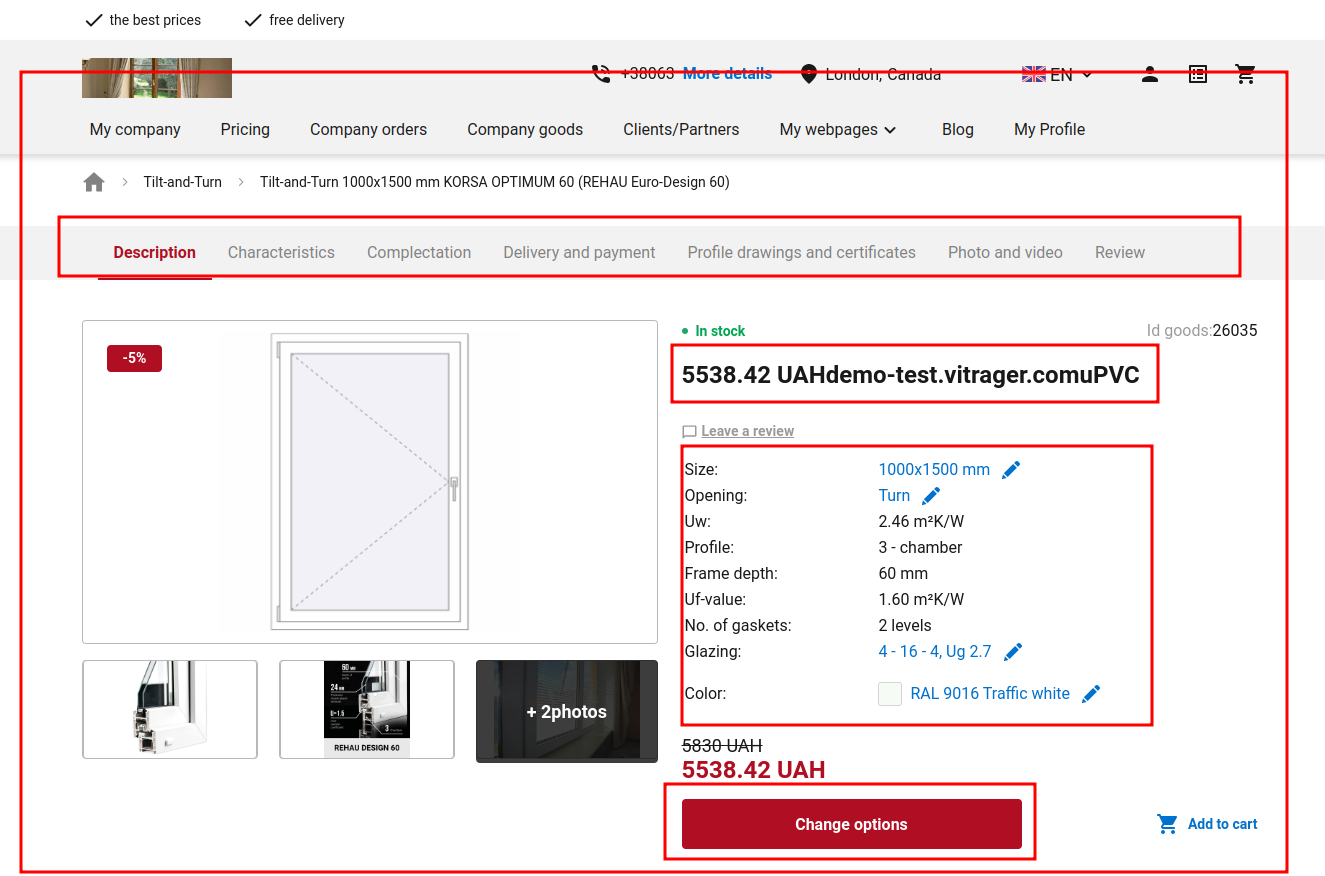
Now that you've opened this item, it will appear on your website
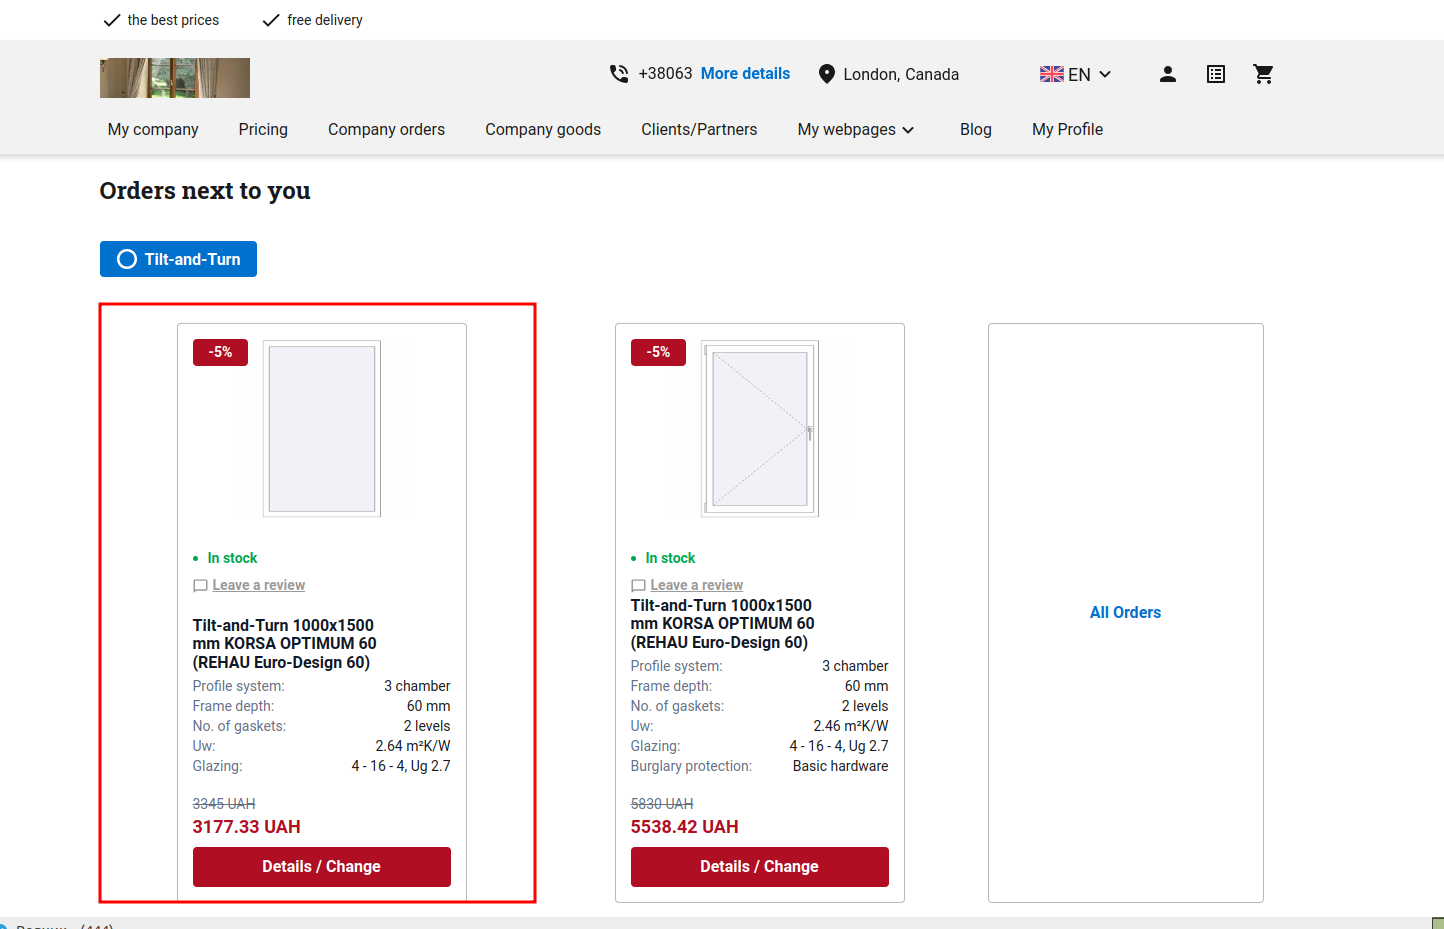
and in Product view page.
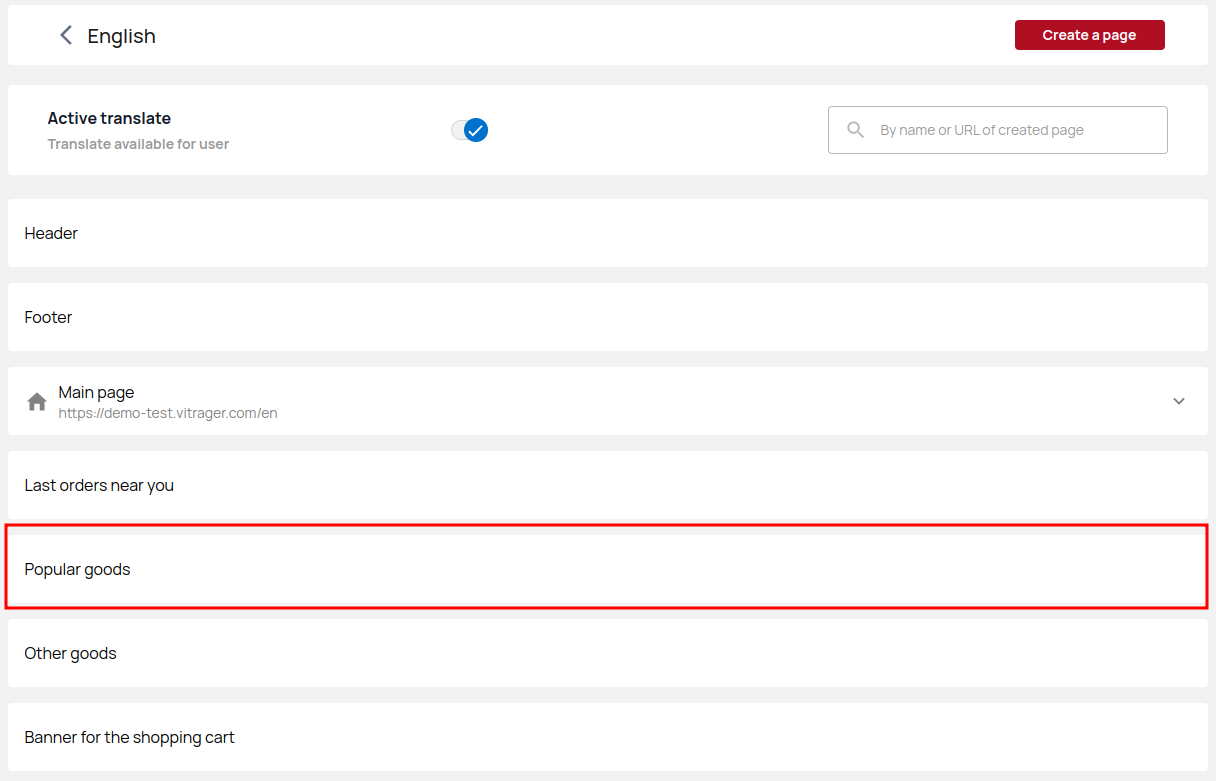
Popular Goods
Set up Popular goods to display this block on your website.
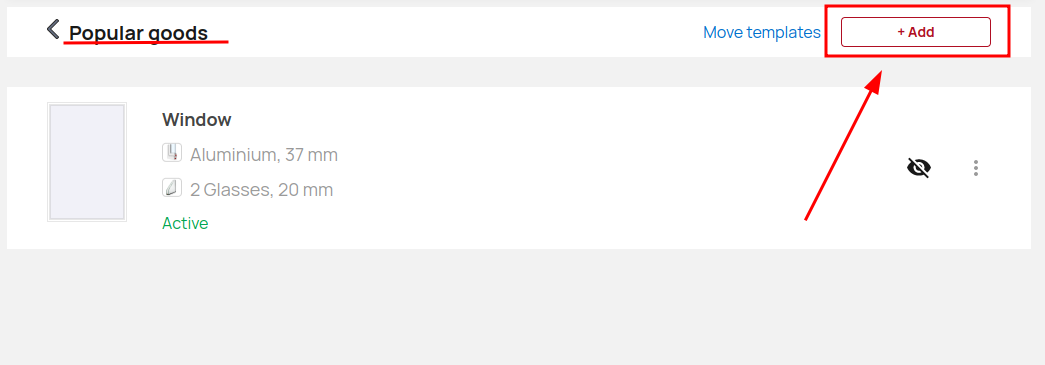
Click Add to start adding new items.
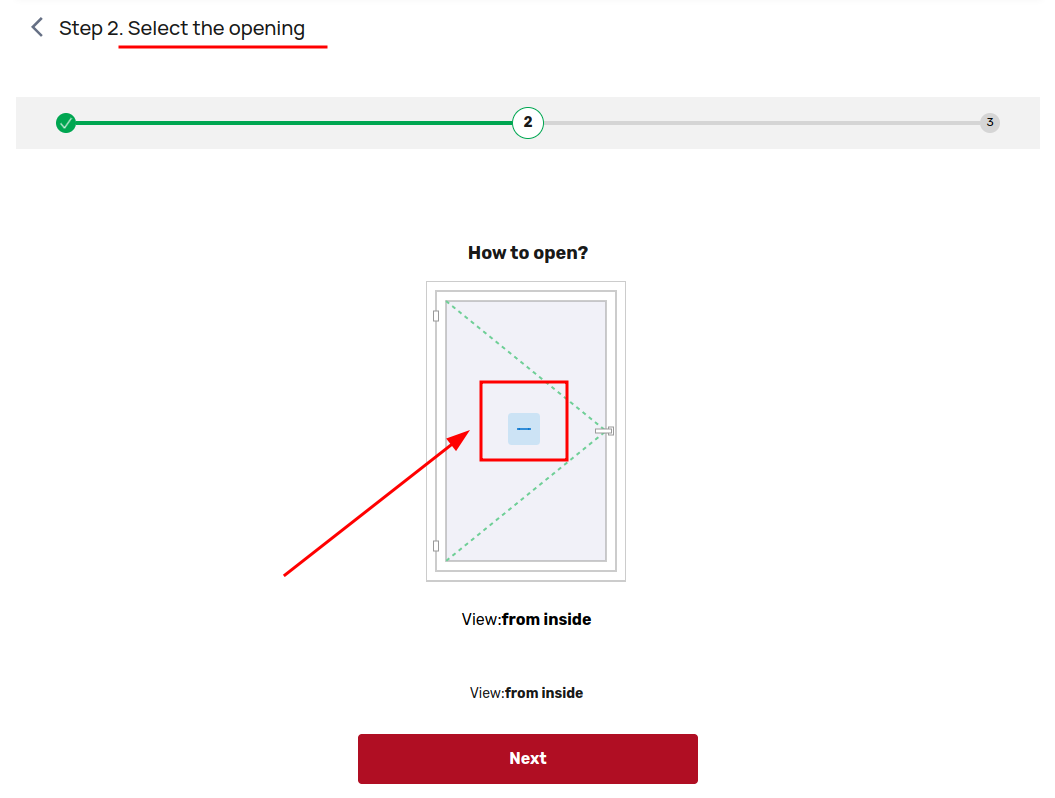
Select the form.

Select opening by clicking directly on the item.
Set the dimensions. 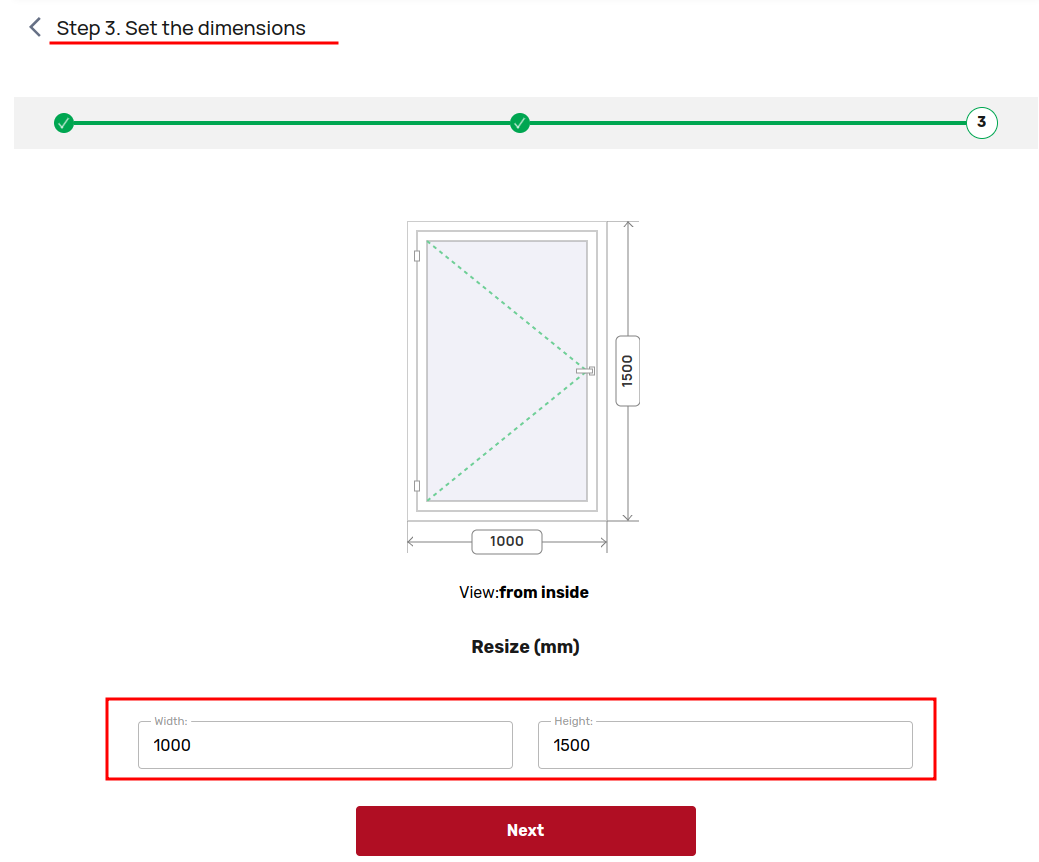
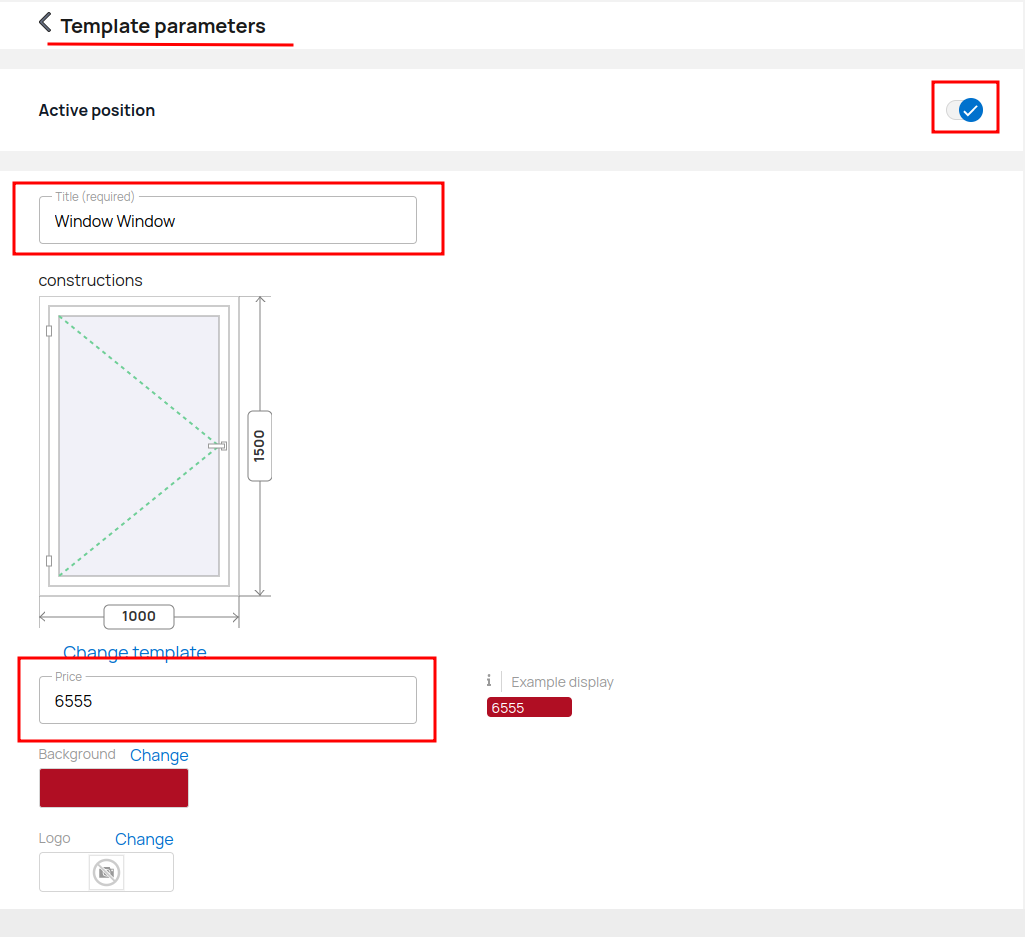
The next step is to configure the template settings. Enter title, price, scroll down and go to other settings. After editing, don't forget to activate and save the item.
Add as many popular goods as you want according to your business strategy.
Or, if you've previously selected popular goods in your Company goods settings, they'll appear on this page.
Banner for the shopping cart
This banner is intended for placing a promotion, discount or offer in the shopping cart.
Download the required image for desktop (1200x104px) and mobile (360x204) versions. After the client clicks on the banner and fills in his data, the manager will be sent a letter with the client's data and a PDF file of his order. In the block, you will be able to customize the message after client registration.

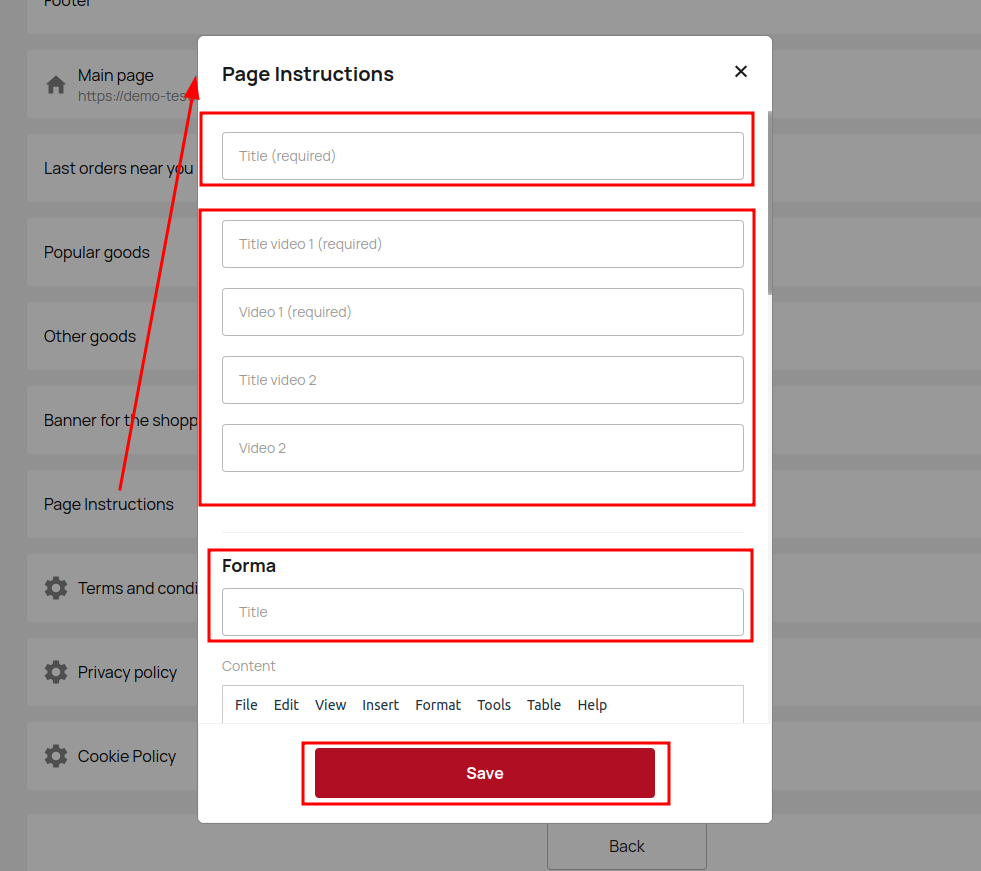
Page Instructions
In this block, it is necessary to include clear and simple instructions for measurements, and if possible, add a video link to more detailed material. You can also insert a form, upon filling out which the client will receive additional material.
Policies
Adjust the Privacy Policy, Terms and Conditions and Cookie Policy for your website.
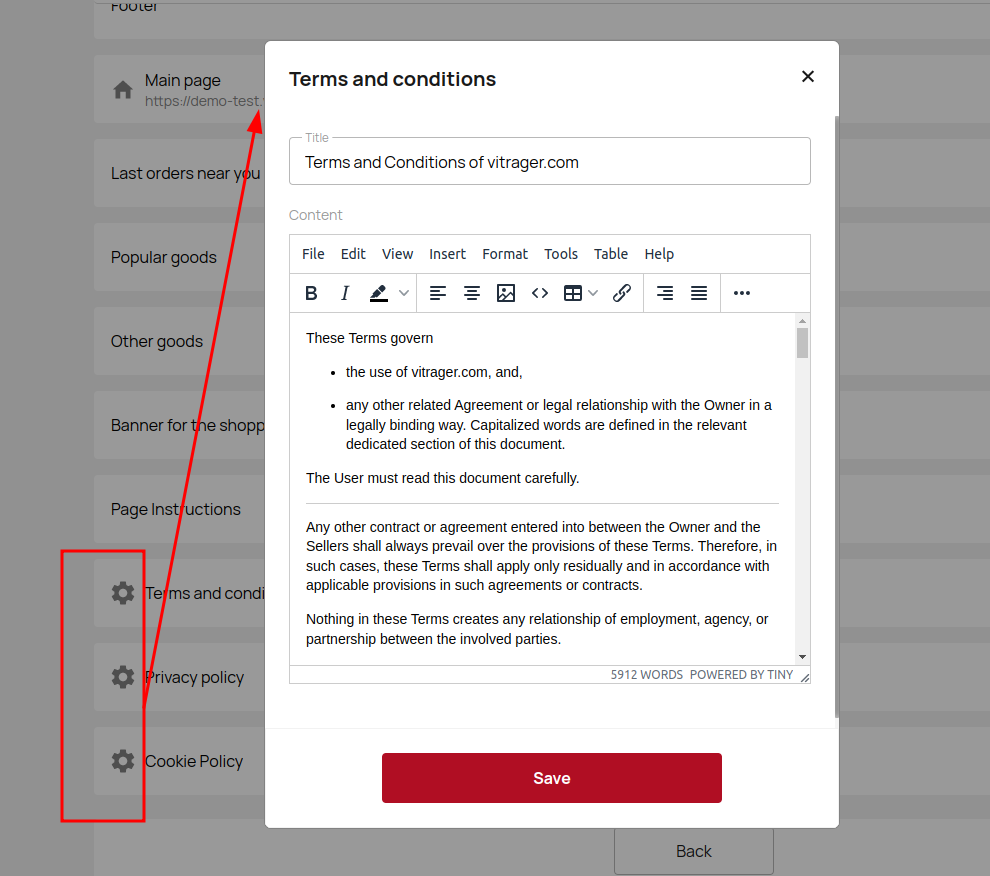
Add different translations of the policies to different language versions of your website.
If you do not add policy text in your language version, the default Vitrager text will be displayed.